This site contains affiliate links, view the Disclaimer for more information.
Put everyday connections within reach, give charging its own corner, and print the small organizers that solve an actual fit problem.
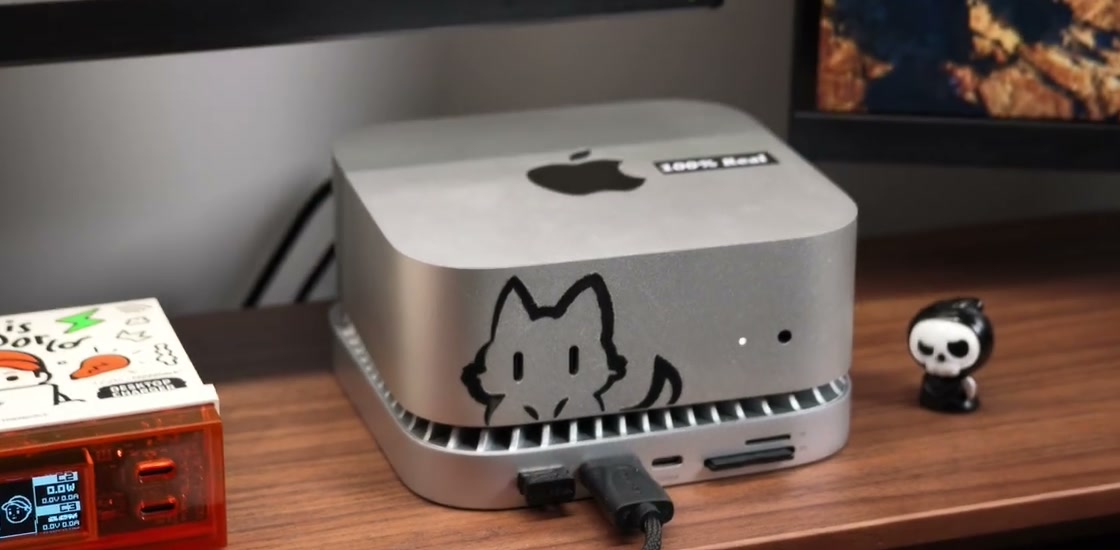
The cable you need is usually the one that has slipped behind the desk. You reach for it, catch another lead, and move the little pile of screws you meant to keep together. Nothing is broken. The working space just keeps getting smaller.
A maker desk has two different jobs: computer work and hands-on work. A hub, a charging station and a small printed organizer can help them share a surface, but only if they leave room for the task in front of you.
Begin with the thing you keep moving
Before shopping, clear a space for the largest object you regularly handle: a printer build plate, a project enclosure or a cutting mat. Put your keyboard, mouse and usual cables back around it. Notice what has to move before you can start.
If the keyboard has nowhere to go, another desktop gadget will not fix that. If you keep unplugging a card reader to connect a controller, the missing piece may be an accessible data port. If loose charging leads keep falling away, you may only need a place to park their ends.
| The repeated interruption | Start here | Check before buying or printing |
|---|---|---|
| Reaching behind the computer for a card or USB device | A reachable hub | Actual data ports, host compatibility and cable reach |
| Moving several chargers to clear the mat | A charging corner | Device power needs, shared output and the wall lead |
| Hunting for the end of a cable | A loose cable guide or clip | Jacket diameter, connector size and easy removal |
| Repeating the same software command | Existing keyboard shortcuts first | Whether an extra controller supports the application |
Keep the clear area as part of the plan. An empty patch of desk is useful equipment when a print needs inspection.
Put the hub where your hand can reach the ports
A hub tucked behind a laptop looks tidy until a memory card needs removing. Place it with the frequently used side facing the open part of the desk. Connect your widest plug and check whether it blocks the neighboring port.
The Anker 555 A8383 is one option if you need a compact hub with an attached host lead. Its documented ports include USB data connections, HDMI, Ethernet and SD/microSD readers. Pick it because those connections fit your computer and workflow, not because eight ports sounds better than four.
A USB-C socket does not tell you what it does. On this hub, the PD input is for power and the USB-C data port serves a different purpose. Anker specifies up to 100W input but up to 85W pass-through to the laptop. Do not plan a 100W laptop supply on the assumption that the two numbers are interchangeable.
Check the host’s video support before relying on HDMI. A charging station cannot replace a data hub, and a hub cannot make an unsupported computer port output video.
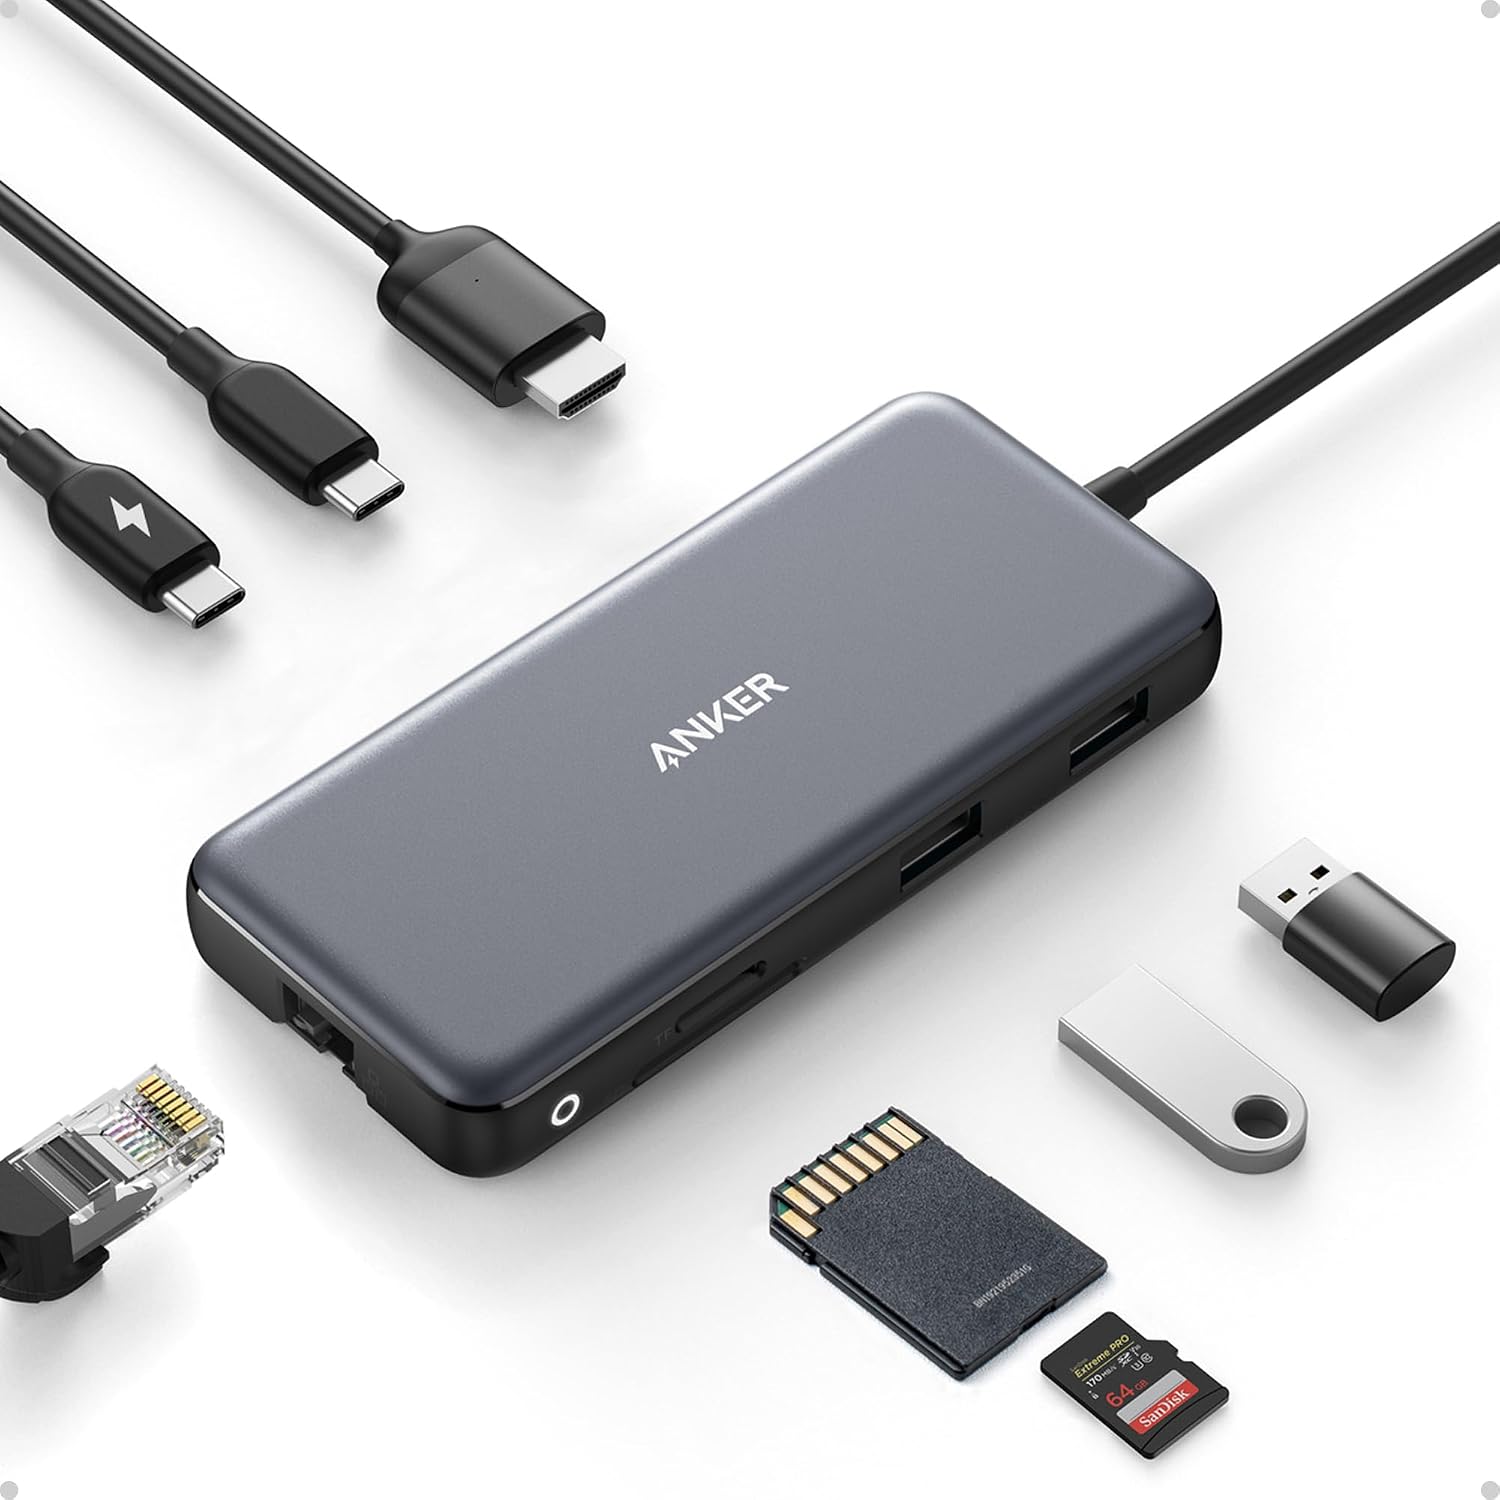
Leave a gentle route for the attached host lead. The hub should rest on the desk without hanging from the computer’s socket. If the short lead cannot reach the useful spot, change the layout or choose a different hub rather than pulling it tight.
Give charging a corner of its own
A charging corner works best when you can see the sockets, remove a plug with one hand and lift the charger for cleaning. Keep the leads along an edge rather than through the middle of the work area.
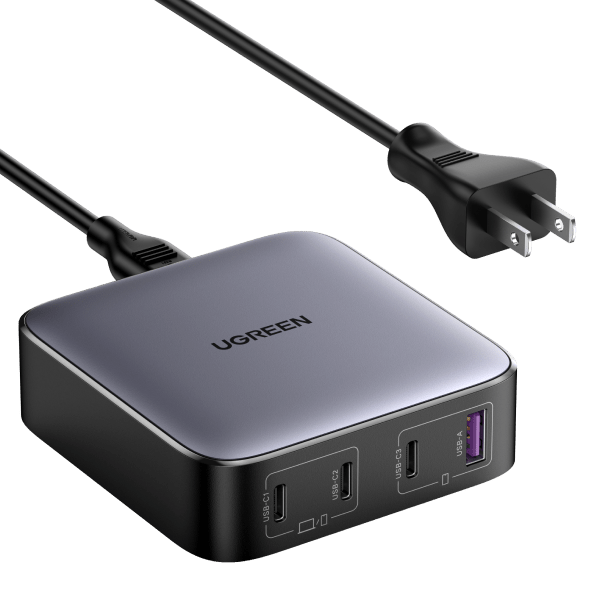
The UGREEN 100W four-port desktop charger can bring several charging leads into one corner. It has three USB-C ports and one USB-A port. Its headline wattage is not a promise that every connected device receives that power at once.
Write down what will charge together: laptop, phone, tablet or a small accessory. Compare that combination with the manufacturer’s current output-allocation table and the devices’ input requirements. Check the supplied AC lead and US plug option too; different marketplace variants and newer products can share very similar names.
For programming a small electronics project, identify the computer’s data connection separately. Plugging a development board into a charger’s USB socket does not provide a computer connection for firmware work.
Do not build a close-fitting printed shell around a mains charger just to make it match the desk. Leave the manufacturer’s enclosure intact and follow its placement guidance. Cable management should organize the leads, not press against plugs or cover the device.
Print a cable guide before printing a whole desk system
Start with one nuisance: a cable end falling behind the table, or a loose lead wandering into the work area. A small removable guide is easier to adjust than a long organizer designed around guessed measurements.
Measure the cable jacket where it will sit in the guide. Then measure the connector body separately. Decide whether the cable can be lifted into an open slot or must be threaded through a hole; that choice determines whether the larger plug needs to pass through it.
A useful guide holds a lead loosely enough to remove without tugging its socket. Smooth the contact surfaces and check that the path does not pinch the jacket. Keep any moving cable away from printer doors, axes and the build area.
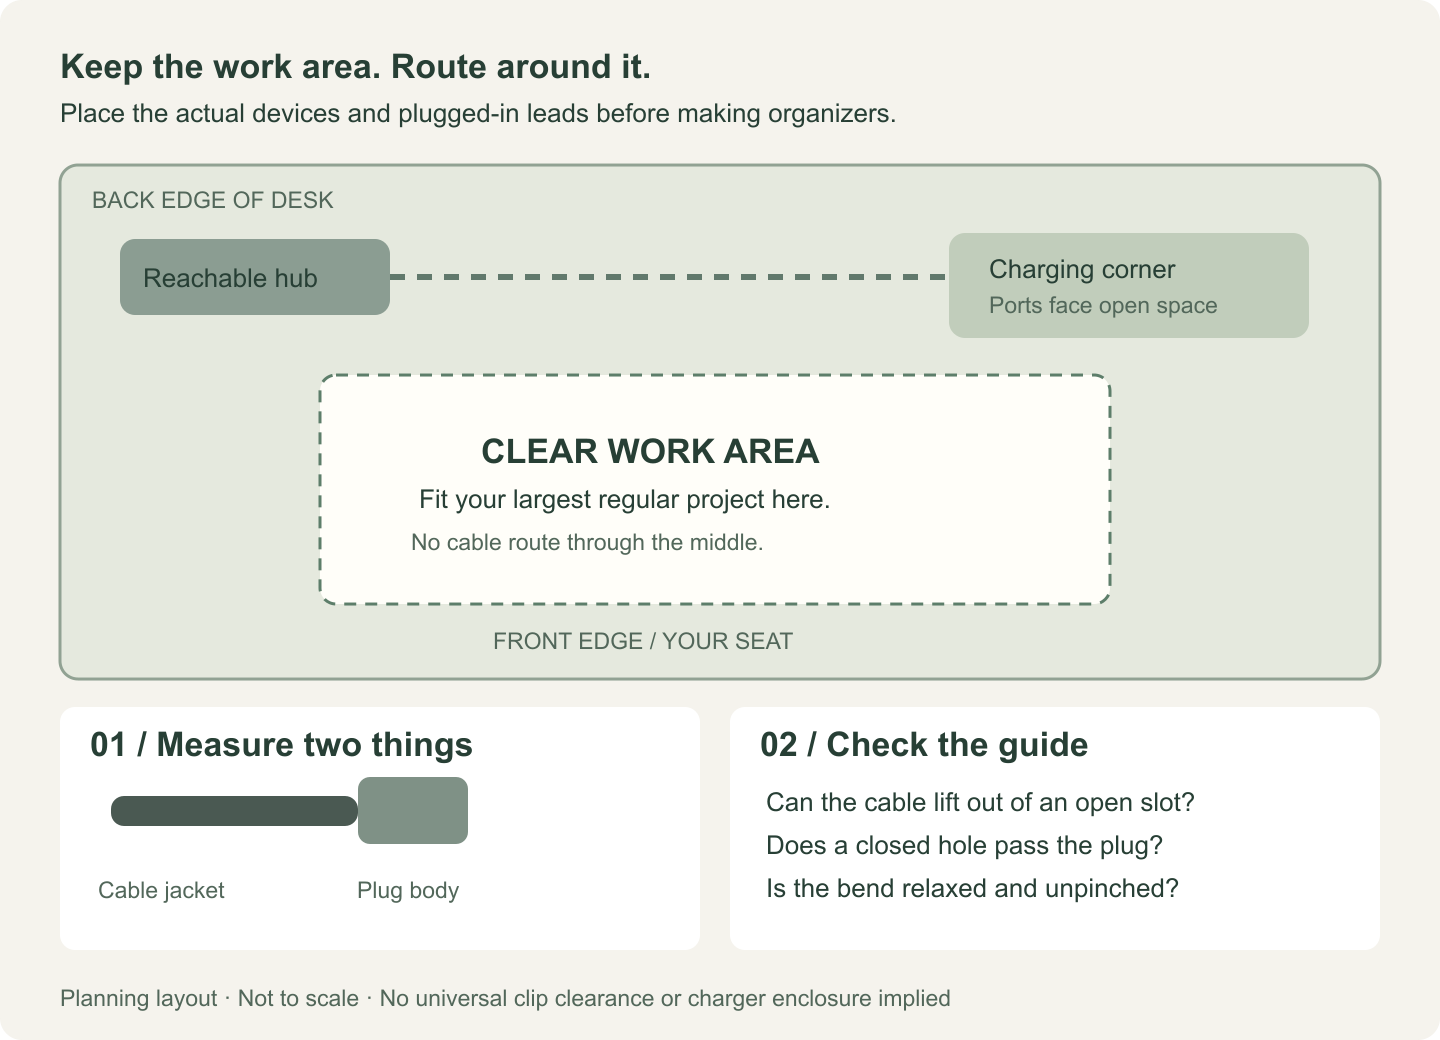
Print a short test piece and fit the actual lead before making several copies. There is no single clearance that suits every cable jacket, printer and material. If the guide is too tight, change the model rather than forcing the cable through.
Treat a shortcut controller as optional
A dial-and-button controller can be useful when the same editing command interrupts you repeatedly. It is also another object competing for hand space.
Try the application’s existing shortcuts first. If you still want a controller, check the exact model, connection type and software support. TourBox models have different wired and wireless capabilities. Confirm support for your specific slicer or CAD program before buying.
Make a short list of commands you actually repeat, then confirm that they can be assigned. For a printed stand, measure the physical unit, keep every control reachable and leave room to connect or remove its lead. A stand file for a similar-looking model is not proof of a fit.
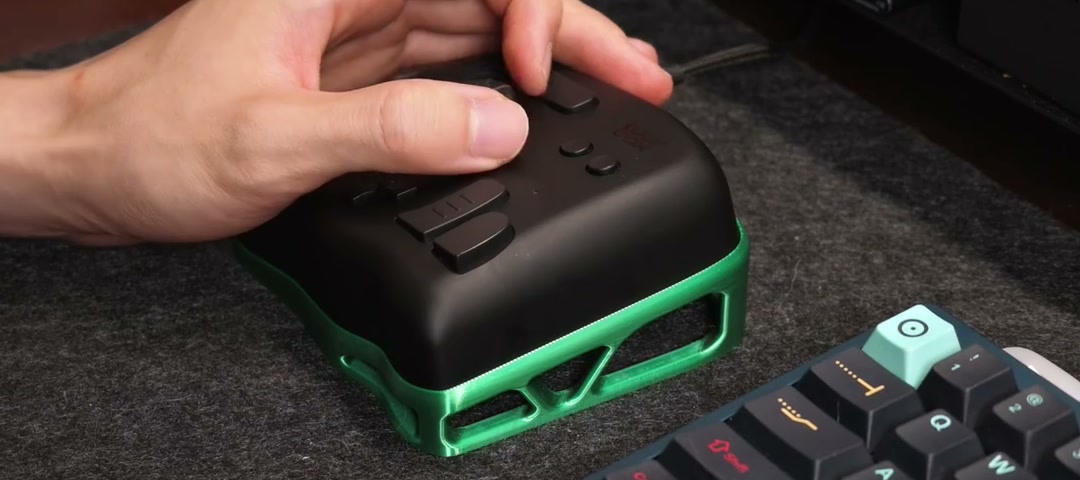
There is no need to add that purchase to make this layout work. A reachable hub, a separate charging spot and one useful cable guide may already remove the interruptions that bothered you.
Try the layout before fixing it down
Run through an ordinary sequence: connect a device, remove a memory card, move the keyboard and put the largest project on the desk. Unplug the charging lead you use most often. Check that it comes out without moving everything beside it.
Then lift the hub and charger and wipe underneath them. If the arrangement is difficult to reopen or clean, keep it temporary until you have adjusted it. Add clips or removable fastening only after the cable routes and clear working space make sense.
The aim is a desk you can start using without a small round of rearranging first.
Two devices to compare
These two devices cover the connection and charging jobs described here. They are not a matched kit or a promise of compatibility with every computer. Confirm the exact model, current port specification, included cables and seller before ordering. The Amazon links are ordinary product links without an added affiliate tag.
What to look for
Compare the model numbers and fit details before ordering. Product photos are from product catalogs and retailer listings.
Anker 555 USB-C Hub (A8383)
A compact hub for accessible data ports and card readers. Check host video compatibility and cable reach. Up to 100W PD input provides up to 85W laptop pass-through. Confirm the exact model and included accessories.
View on Amazon
UGREEN Nexode 100W four-port desktop charger
A four-port desktop charger for an edge charging corner: three USB-C ports and one USB-A. Check the multi-device power split, US AC lead and selected model. The 100W rating is shared across connected devices; it is not available at every port simultaneously. This charger does not provide a computer data connection.
View on Amazon